
Summary of this article
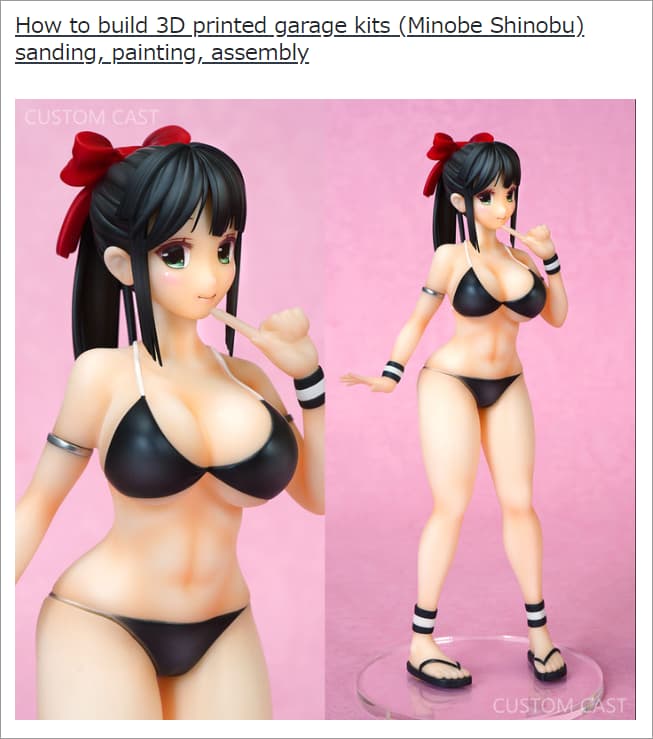
"What is a 3D printed garage kit?"
"How is it different from a typical garage kit?"
I think there are many people who think this way.
"Difficult to build", "Poor quality",
Some of you may have misunderstandings or bad impressions.
In conclusion, a 3D printed garage kit is a "Good quality and easy to build" garage kit.
Of course, the quality and ease of building depends on the structure of the kit, but I can say a 3D printed garage kit is easier to build than a traditional garage kit.
In this article, I will explain the basic knowledge of 3D printed garage kits and how to paint and assemble them.
Table of Contents
- What is a 3D printed garage kit?
- Test Fitting & Assembly
- Sanding
- Painting
- Summary
What is a 3D printed garage kit?

A 3D printed garage kit is a garage kit that can be completed by directly painting the parts printed by a 3D printer.
A traditional garage kit is a garage kit that is replicated in silicon molds of the original model made with putty or a 3D printer.
In conclusion, there is no significant difference in the painting and assembly process between 3D printed garage kits and traditional garage kits.
However, there are some differences, similarities, and cautions that you should know, so I will explain them in detail.
Test Fitting & Assembly
Test fitting is a process to check the alignment and distortion of the parts, and to reinforce the parts with metal wire to prepare them for assembly.
The procedure is exactly the same for both 3D printed garage kits and traditional garage kits.
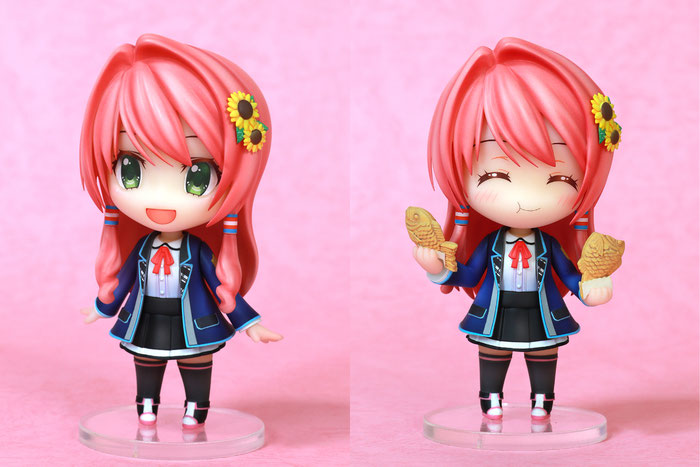
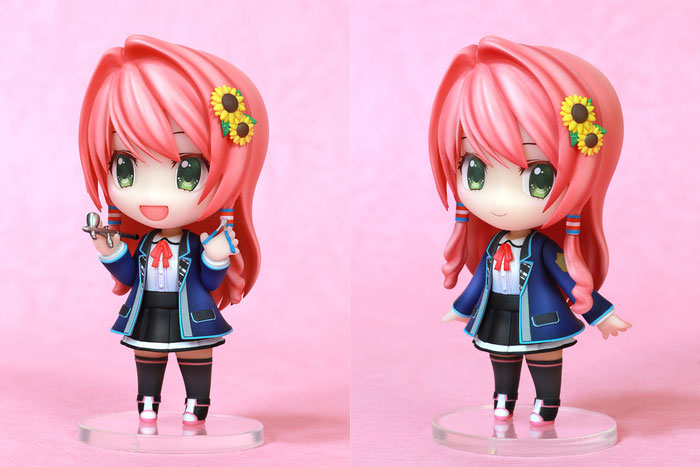
This time, I will use my original garage kit "Ayukawa Hiyori" to explain the process.
(1) Drilling

Each piece has a small mark on it, so drill a straight hole at the marked position with a 0.5 mm drill. Be careful not to break the drill blade.
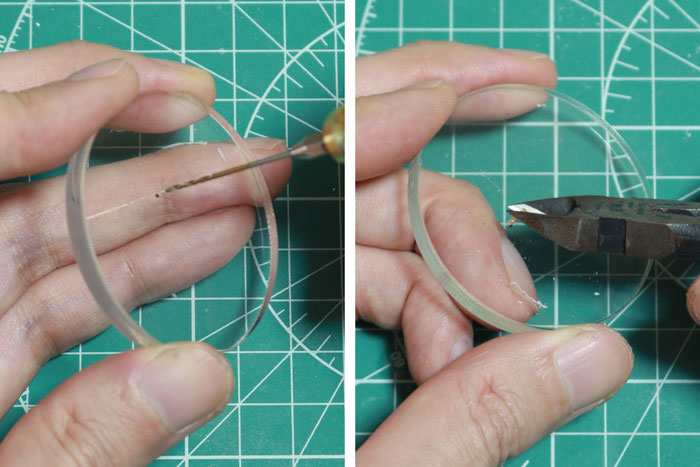
(2) Pinning

After making holes in both parts, insert a 0.5mm brass wire into one of the holes and fix it with instant glue.
If you can't insert it properly, use nippers to insert it.
This time I used 0.5 mm brass wire for all the pins. If you feel you need more durability, use 1mm brass wire or aluminum wire.
(3) Assembly

After inserting the brass wire, join the parts together and make sure they are perfectly fitted. If it doesn't fit well, bend the brass wire to adjust.
(4) Make hair, faces, and arms detachable

"Ayukawa Hiyori" has replaceable faces and arms.
You can replace the parts at any time if you plug these parts in without gluing them.
The pigtails also need to be rotated depending on the types of the arms, so insert the pigtails without gluing.
(5) Fix to miniature base
This garage kit comes with a miniature base.
Drill holes in the miniature base and the sole of the foot, and fix them with metal wire.
To increase stability, I recommend using 1mm metal wire. You can use either brass or aluminum. It is a little difficult to align the pins on both feet, so it is OK to insert the pin only on the right foot.
(6)Completed!

Test fitting is now complete. After painting, you can complete it by simply inserting the pins. If you want to increase the stability, you can use instant adhesives or Cyanon.
Summary
The tools and materials used are exactly the same as when building a traditional garage kit.
Sanding
Sanding is the process of sanding off the excess resin and smoothing the surface of the parts to make them suitable for painting.
The work and tools are almost the same as when building a traditional garage kit.
What is "support material"?

3D printer support material is like a scaffolding that is made during the 3D printing process, and is similar to runners in plastic models. "Ayukawa Hiyori" has been removed from the support material, but the parts have still a lot of pimple-like marks, so clean them up with sanding sponges.
What is "seam"?

Seam is a stratum-like pattern that is formed on the parts when they are 3D printed.
Digital light processing (DLP) 3D printers make parts by overlapping thin layers of resin (less than 0.05mm), so they have lines that resemble the cross-section of a mille-feuille. They are almost invisible to the naked eye, but when you touch them, they feel like the side of a dictionary, so if they bother you, sand them off or fill them with primer.
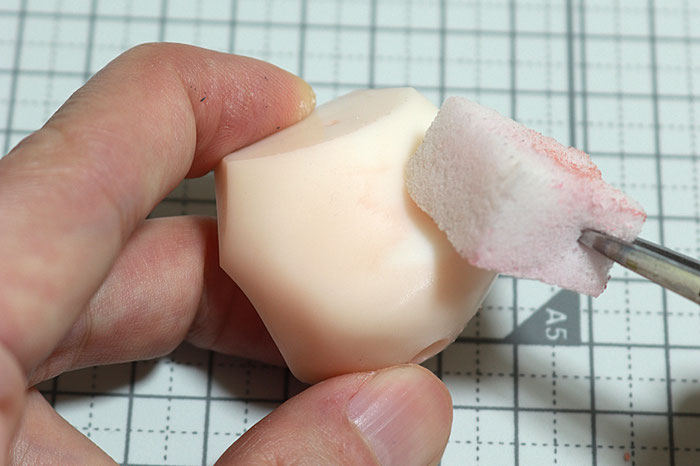
(1) Remove the marks of support material

When you touch the parts with your fingers, there are rough areas. Those are the marks of support material, so sand off them with #320 to #600 sanding sponges or sandpaper.
(2)Remove the seams

The seams are not noticeable, so you don't need to remove them if you feel it will take a lot of time. It is enough to sand them with #320 to #600 sanding sponges only the areas you are concerned about when you touch them. If you are a stickler for "I want to make the seams completely gone and make it smooth!", start with #240 and sand every corner of the parts.
FAQ
Do I have to wash off the mold release agent?
Mold release is an oil that makes it easier to remove the resin from the silicone mold. 3D printed garage kits are not coated with mold release agent, so there is no need to wash off the mold release.
Do 3D printed garage kits have mold lines?
a mold line is the joint of silicone molds, so it is not present in 3D printed garage kits. This makes it very easy to smooth the surface of intricately shaped parts such as hair.
Do 3D printed garage kits have bubbles?
In very rare cases, 3D printed garage kits may have air bubbles in them, but they are a very small amount compared to traditional garage kits. If you find the holes, fill them with putty to repair or ignore if they are not noticeable.
Do I have to use primer?
Primer is a kind of putty in liquid form, which is used as a base coat to fill in scratches on parts and to improve the adhesion of paint. If you want to fill in the seams and scratches and get a good finish, spray primer to smooth the surface.
However, it is not necessary when used for the purpose of improving the adhesion of paint. It may depend on the type of resin, but 3D printed garage kits have unusually high paint adhesion, so spraying paint directly on the parts is not a problem.
Do I have to remove the seams?
The parts will look better if you remove the seams, but it is not noticeable even if you didn't remove them. However, in the following cases, it is better to remove them properly.
- When you want to make it shiny and glossy
- When you want to do eye painting
If you want the parts to have a glossy finish, they will not have a clean gloss if there are any seams left.
When you do eye painting with a brush, make sure to sand the seams well, because if the seams are still there, the paint will get into the seams and you won't be able to draw cleanly. If you will use eye decals, there is no need to remove them forcibly.
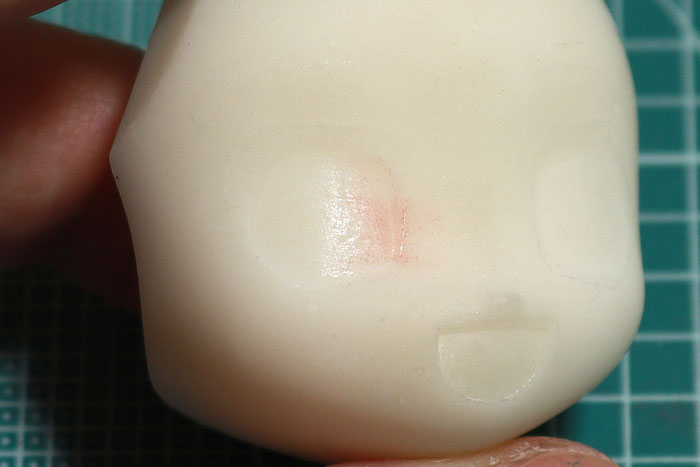
Hard to see the marks of support material...
If the marks of support material are hard to find, spray primer or paint on them so that it can be more visible. Also using a UV light to illuminate the parts, you can see the surface condition more easily.
Summary
Since they have no mold line, I feel sanding a 3D printed garage kit is easier than sanding a traditional garage kit.
The details are clean and the seams are not noticeable, so you can proceed to painting relatively quickly.
Painting
The painting procedure is exactly the same as for the traditional garage kit.
You can use an airbrush, a canned spray, or a brush to paint without any problems, so I will not explain the procedure here, but rather the characteristics of 3D printed garage kits.
Good adhesion of paint

As mentioned above, the adhesion of paint is very good and the paint will not peel off even if you scratch it with your fingernail, so there are very few accidents where the paint peels off when the masking tapes are removed.
Do not soak the parts in organic solvents for a long time.

When repainting, it is not advisable to soak the parts in organic solvents such as thinners or tool washes for a long time. Resin does not dissolve in solvents, so at first glance it looks harmless, but if solvents penetrate the inside of the part, cracks may suddenly appear one day.
When repainting, it is better to wipe off the paint with a melamine sponge that soaked in solvent to prevent the solvent from penetrating the parts as much as possible.
When you do eye-painting, if the seams are left on the surfaces, the parts will easily get dirty.
As I mentioned above, if you are going to do eye painting, it is best to remove the seams cleanly. When I do eye painting, I use a brush dipped in thinner to retouch the lines, but when I do this, the paint gets into the grooves of the seams and spreads the stains. When eye-painting, it works best if you remove the seams cleanly and protect the parts with gloss clear before working on it. This is not necessary if you will use decals.
summary
After many years of making garage kits, my impression is that 3D printed garage kits are easy to build and I can recommend them to beginners.
The tools and paints used are the same as those used in traditional garage kits and plastic models, so if you find a kit you like, by all means give it a try. I also sell 3D printed garage kits on my BOOTH, so please take a look if you are interested.
The painting chips are now available in the following article.


コメントをお書きください